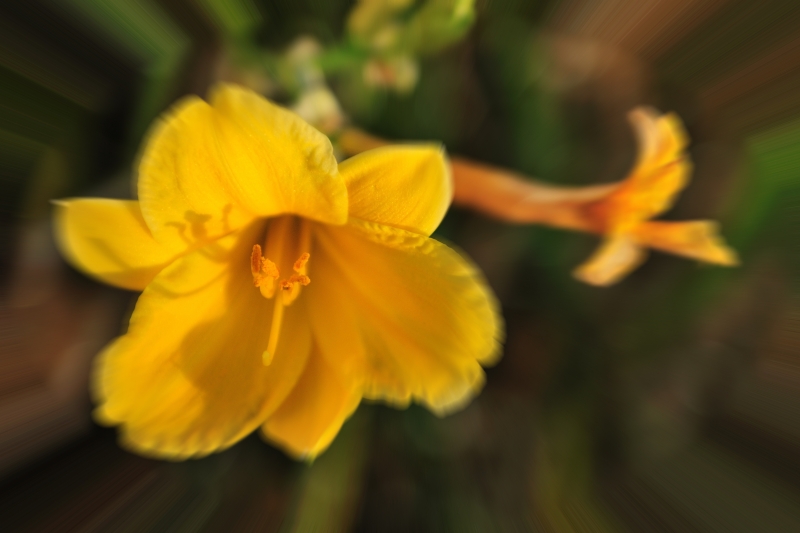
So I started researching ways to replicate the "Lensbaby Selective Focus effect" using Photoshop Elements. I tried a couple of things and ended up with some pleasing results.
The original picture:

Steps taken:
- Duplicated the original image in a new layer (ctrl-j)
- On the duplicate layer, distorted the image by selecting Filter --> Distort --> Polar Coordinates --> Polar to Rectangular
- Still on the duplicate layer, applied a Motion Blur by selecting Filter --> Blur --> Motion Blur --> Angle of -90, distance of 125 pixels (this can be modified to fit your picture)
- Again, on the duplicate layer, distort again by selecting Filter --> Distort --> Polar Coordinates --> Rectangular to Polar
- You should have a blurry, distorted top layer.
- Apply a Layer mask on that distorted layer. Since this functionality is not available with PSE, I use the Layer mask action for PSE from the CoffeeShop.
- Using a soft brush, with the foreground color set to Black and my brush opacity set to 40%, I erased away the blurry portions on the layer mask, revealing the in focus layer below.
The final result:

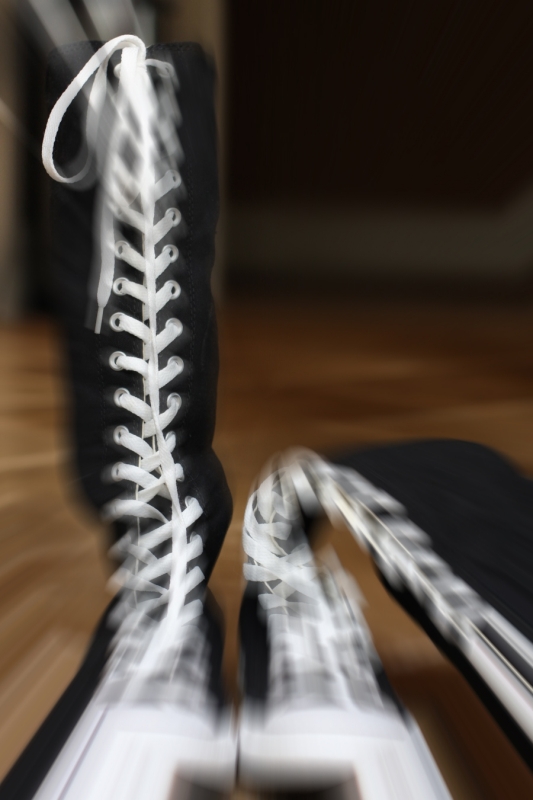
Another example - Lee's picture of her daughter's knee high Converse sneakers:

I'm sure this is one of many ways to achieve the selective focus effect. I've seen examples using a Gaussian Blur, too.
So, for now, I'll hold on to my money and keep playing with filters. Or maybe I'll just buy that Nikon Fisheye lens and keep playing with filters!
I've linked up today's post to the Love That Shot Link-Up . If you have a shot you want to share, make sure you go and check out Love That Shot.
I love the fisheye effect, but oddly enough, not the lensbaby. Your filter and other adjustments are actually more interesting than a lensbaby (in my humble opinion). By-the-way, love your leaf to the light a few posts ago. Very nice.
ReplyDeleteGreat research. Love the effect on the flower. I tried the fisheye lens from Nikon and I love it. It's so clear.
ReplyDelete